

7 Reception DIYs for Brides On a Budget
/Spoken Bride vendor Sinikka Rohrer of Soul Creations Photography possesses a true heart for helping her clients prepare for their marriages--the days that follow long after the wedding. Knowing budget-conscious choices and DIYs can be time-consuming, sometimes to the point of unrest and spiritual distraction, she shared with us a handful of projects from her clients Angela and Lucas' springtime wedding with a natural, farmhouse-inspired sensibility.
No matter what your style, we hope Angela's strategies for creative, affordable décor will inspire your own projects.
From the Bride: Here, the inspiration and steps we employed for our reception DIYs.
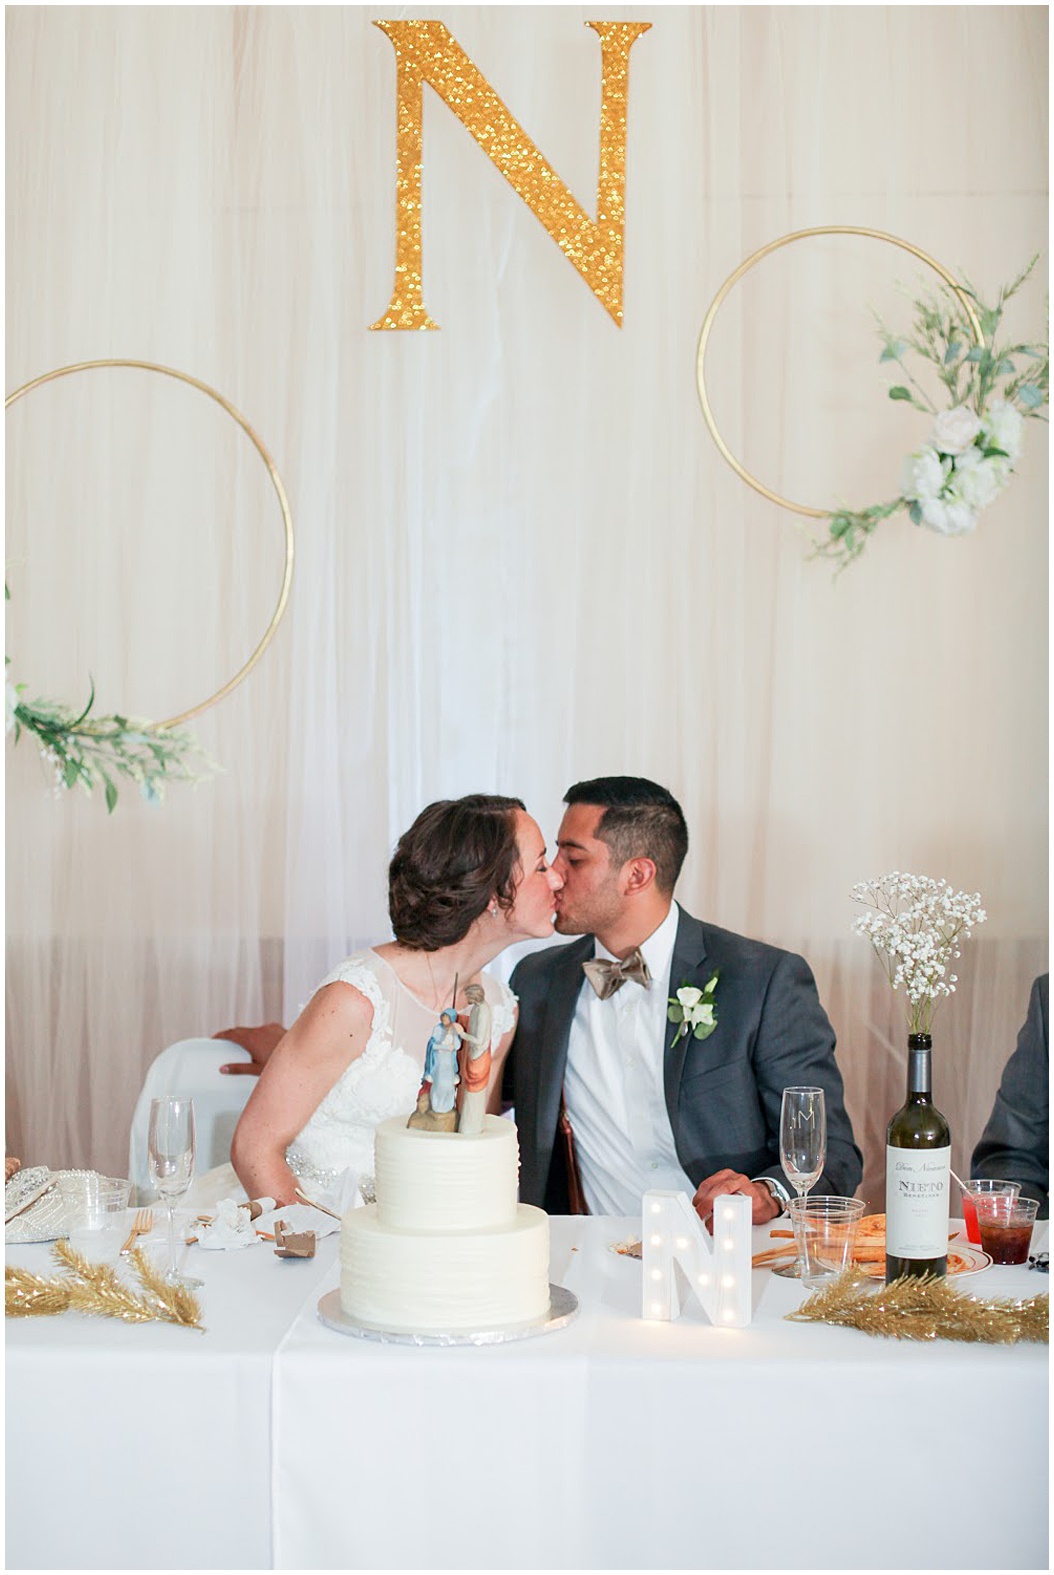
Head Table Backdrop: Hula Hoop Wreath with Faux Flowers
At the end of the summer season, my family and I went to Dollar Tree and bought several hula hoops (only $1 each!!). We sprayed them with gold paint before adding flowers.
Then we got to my favorite part: flower shopping! I went to Michael's in the spring when they were 60% off. Thank goodness for faux flowers, because we were able to make these ahead of time and transport them without worrying about damage. My mom and I laid out all the flowers and greenery I bought and made the arrangements ourselves. We used hot glue, wide clear tape, green floral tape, and green floral wire to adhere everything to the hoops.
While setting up, my dad and brother hung the hoops from the arches in our reception venue with clear fishing line.
Head Table Backdrop: Golden Monogram
For the backdrop featuring our newly shared last initial, N, I needed material that was sturdy but also light enough to hang from the arches. We went to Lowe's and found green foam insulation boards. I traced an N onto it with pencil and cut it out with a knife. I then covered the whole thing in Mod Podge and sprinkled glitter all over it. I bought a pound of gold glitter from Amazon that I used for all of the projects with sparkle.


Wine Bottle Table Numbers
I collected wine bottles from everyone I knew. After Googling, I found the best way to remove labels was to soak the bottles in hot water mixed with baking soda; it really did the trick for the most part. If I were to do it again, I would have tried to gather all clear bottles and bottles without foil labels--the foil was nearly impossible to remove .
I invited my girlfriends over to paint the bottles white. We ended up using white spray paint, which left a nice smooth finish. I decorated the bottles using ribbon, lace, and gold crafting materials I'd acquired from different bridal showers and sales at Michael’s.
For the gold table numbers, I purchased a Cricut Air from Joann fabrics on Black Friday, as well as solid and glittery gold adhesive paper. I cut out numbers from the Cricut and simply stuck them on all the bottles. We filled them with baby’s breath at the tables.
Paper Tablecloths & Stenciled Chargers
We purchased thick brown paper for the tables, and my dad found a laurel wreath stencil from Michaels that we used to frame each table setting in white, using spray paint. Once we figured out the size and positioning of each plate, each tablecloth after that was easy to replicate.
Hand-Written Silverware Holders
With the leftover tablecloth paper, we cut strips thick enough for the stamp I bought from Etsy. We them cut out, stamped each one, and wrapped the silverware in it. A small touch of hot glue kept it together! We also used gold plastic utensils and napkins from Costco to keep costs manageable.


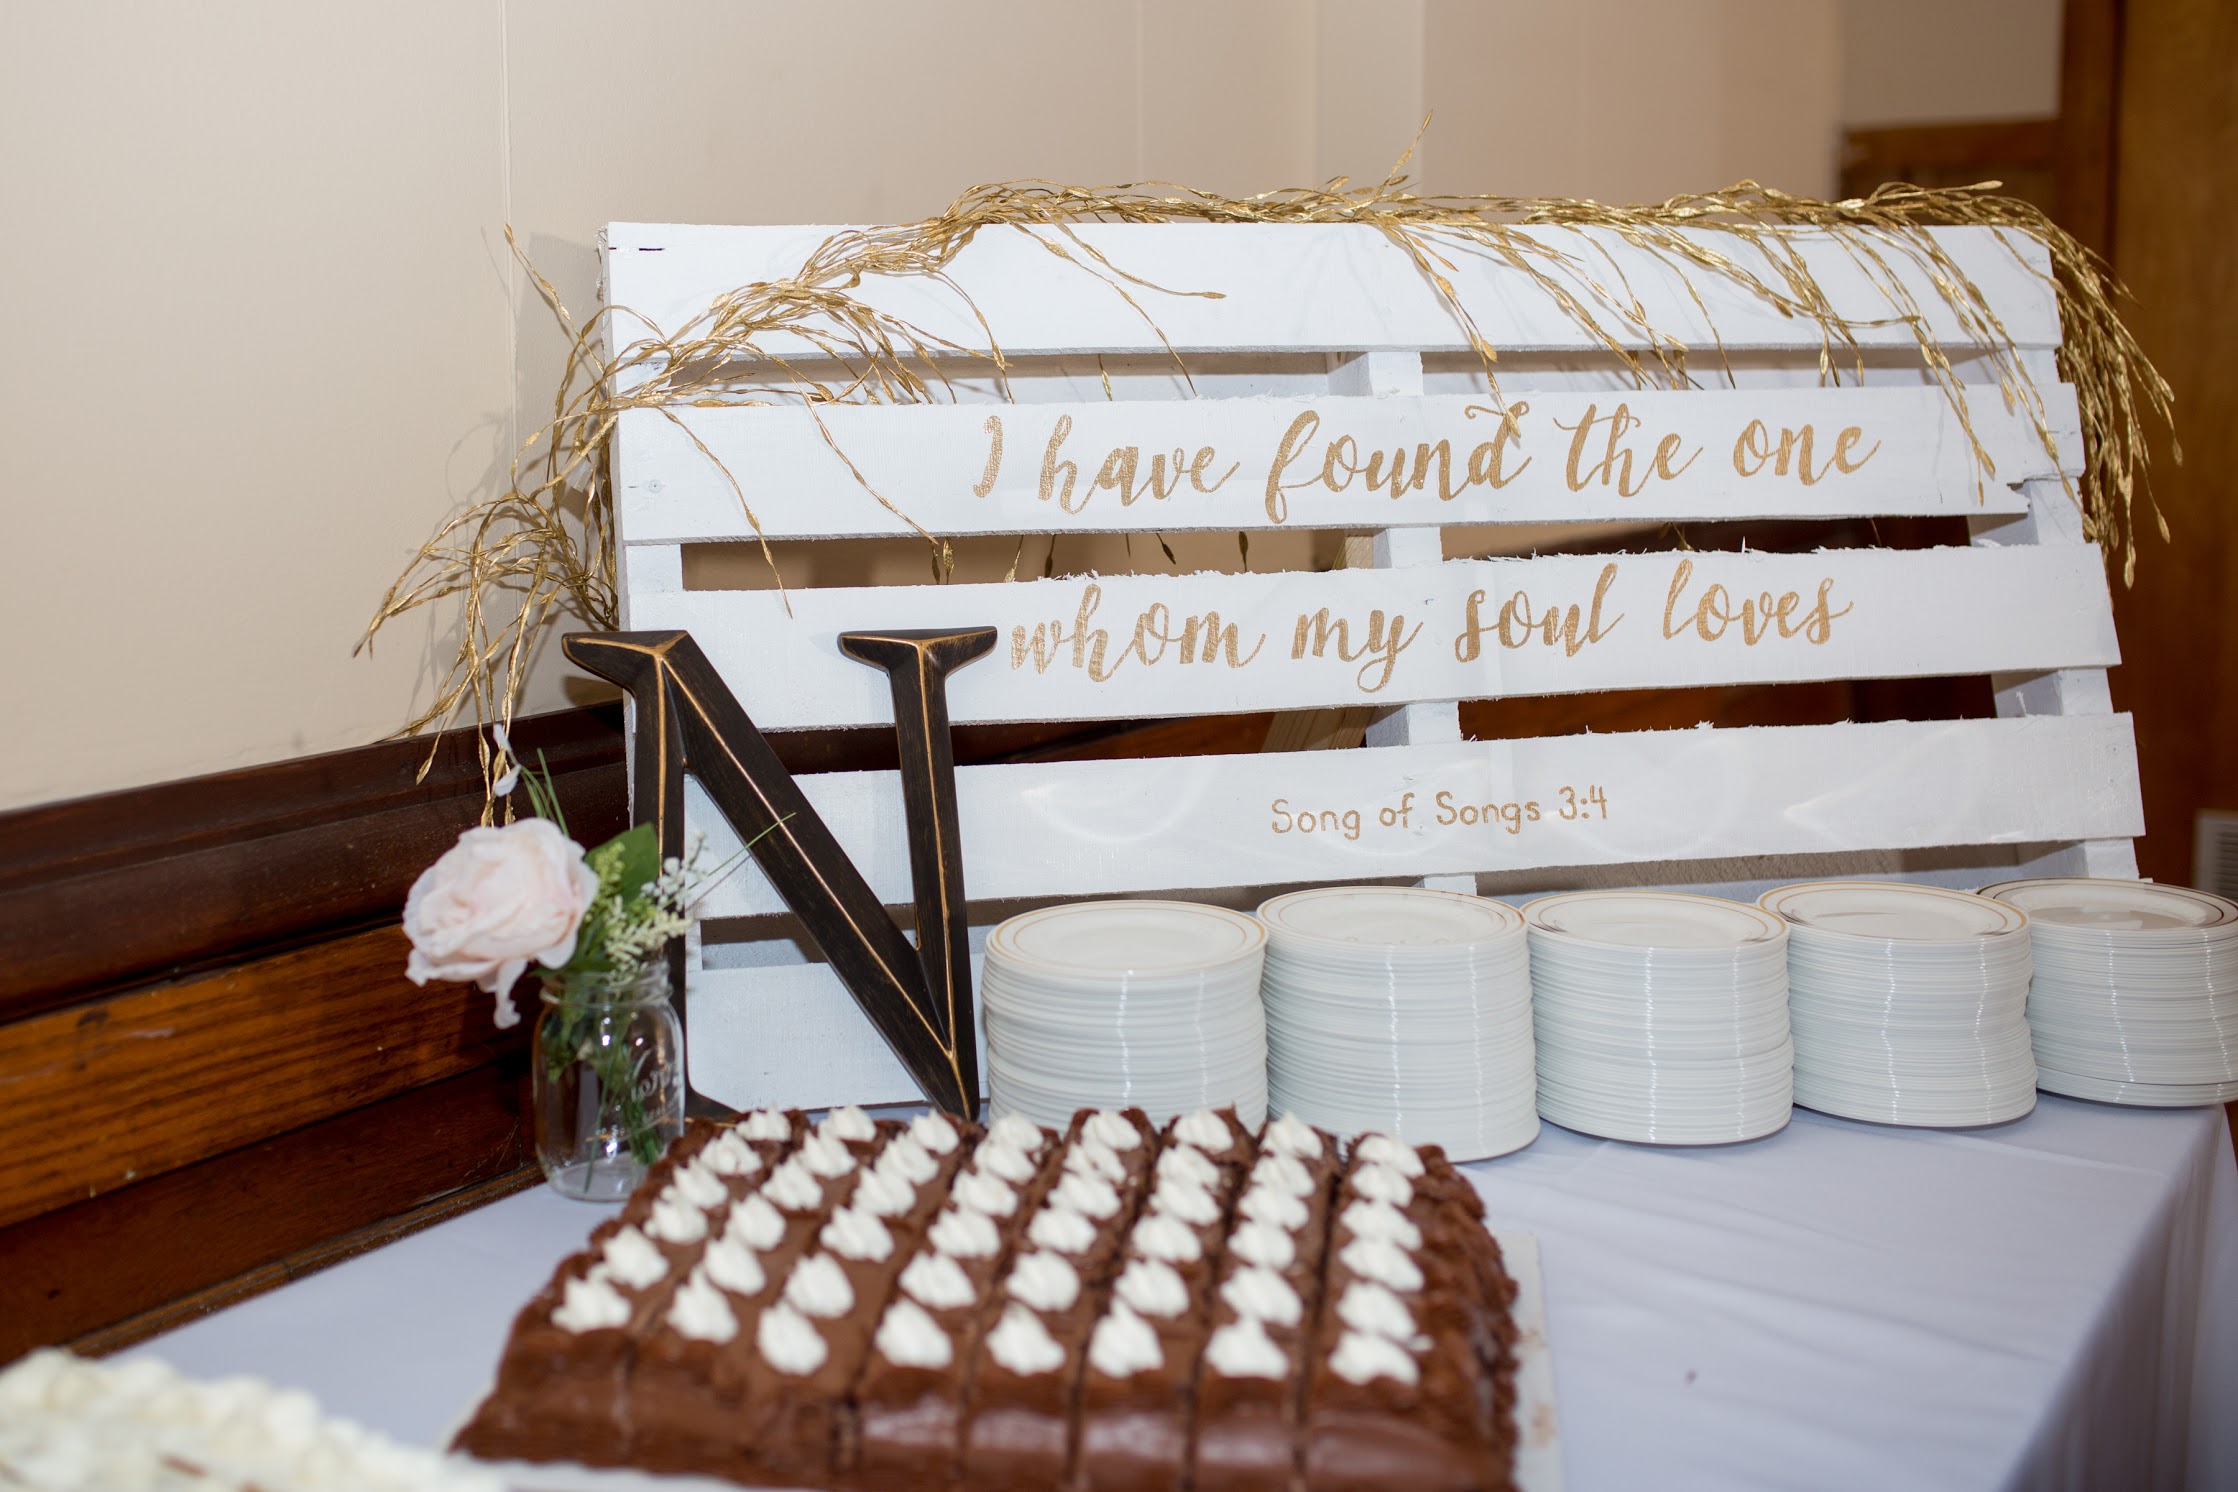
Cake & Gift Table Décor: Painted Crate & Garland
I literally found a pallet in a dumpster downtown Indianapolis, and some random man helped me hoist it into my car! I decided to use it as a sign for the cake and gift table painted it using white paint we had leftover from a room project at my house. After covering the pallet and letting it dry, I went to my computer to find a fancy yet readable font, which I used to type and print the Bible verse used for the pallet.
My parents have a small teacher’s overhead projector at home, which I used to project the printed verse onto the pallet. I traced the outline of each letter with a pencil, then used a gold paint marker from Michael’s to fill them in.
The gold garland we draped over the finished sign was purchased around Christmas time from Hobby Lobby. My bridesmaid arranged it once the table was set up!

Welcome Table Décor: Painted Window Shutter with Clothespins
Our welcome table featured a collection of Lucas' and my engagement photos, pinned to window shutters. My parents had a set of shutters in their basement already; otherwise, I would have looked for them at garage sales or resale shops. They were a dusty rose color before I spray-painted them white
Once we got to the hall, I asked my bridesmaid to arrange the pictures, printed from Walgreens, and attach them with gold mini clothespins purchased from Michaels.


If you're also a bride with a penchant for DIY, we're eager to hear about your own projects. Be sure to share your inspirations and budgeting strategies in the comments and on our social media!

Photography: Soul Creations Photography